a) by clicking on the Rendering Control Window itself:
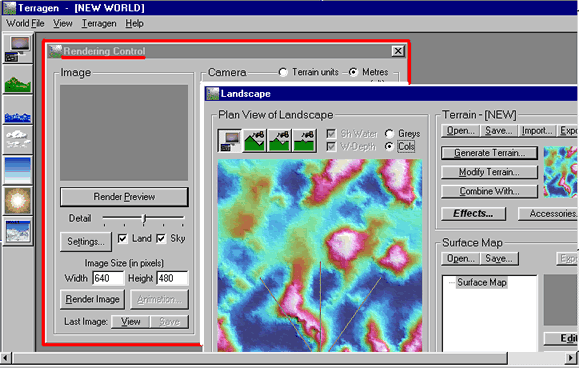
b) or, by clicking on the Rendering
Control icon  at the left side of the screen:
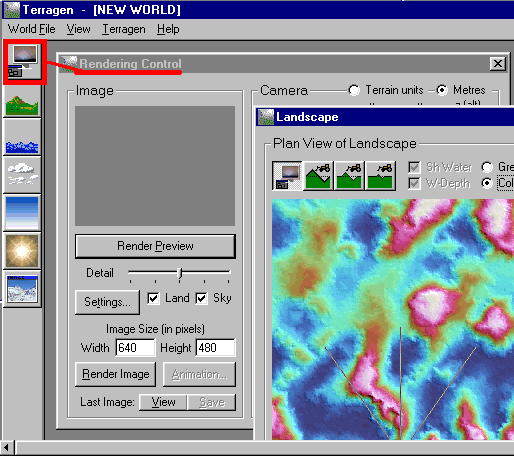
1) To render (or make a drawing) of your Terragen Landscape you need to bring the Rendering Control Window to the front of your screen. You can do this two ways:
a) by clicking on the Rendering Control Window itself:
b) or, by clicking on the Rendering Control icon
at the left side of the screen:
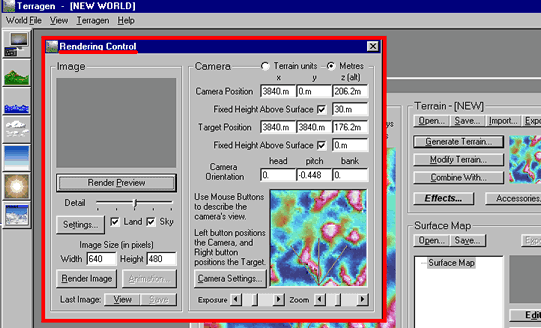
2) Either way will bring the Rendering Control Window to the front of your screen:
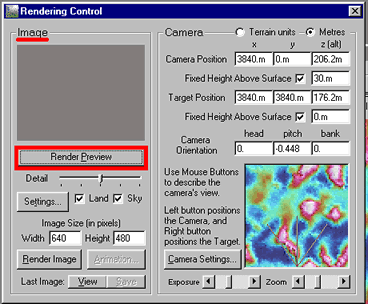
3) Now that you have the Rendering Control Window active, under Image click the Render Preview button:
4) Your image may look something like this:
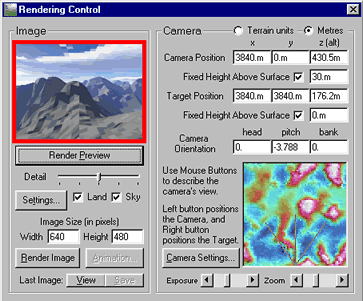
--Or like this: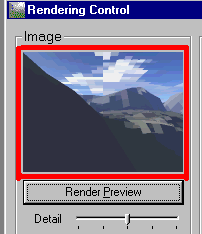 --or
like this:
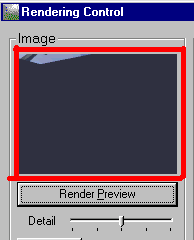
(Either way, these images don't look like much, do they?)
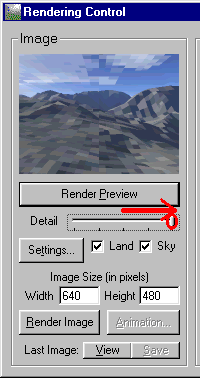
5) Under the Render Preview button is the Detail slider. Slide the Detail slider all the way to the right (maximum). (*To slide the slider, place your curser over the slider itself--left-click and drag the slider to the right.)
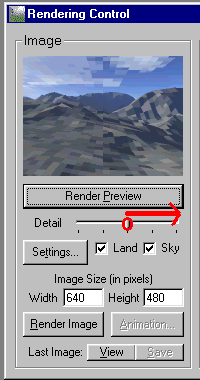
6) Click the Render Preview button again.
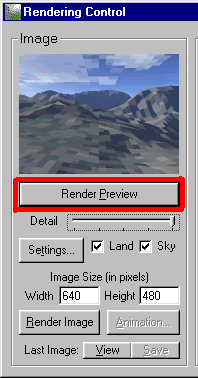
(Rendering your image at maximum detail will take longer than at medium detail. Watch the progress as your scene is 'rendered.')
7) Now your scene may look like this:
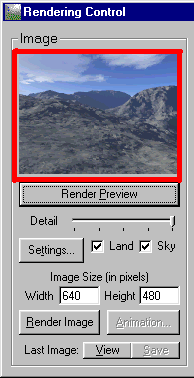
--Or like this: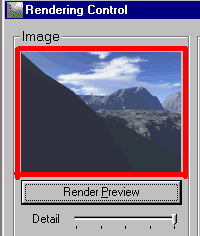 --or
like this:
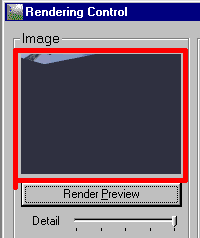
(Don't worry if your scene resembles the last two examples--the big shadow in the window means that a hill or mountain is in front of your 'camera.' I will explain about camera angles later. For now click Part Two-B to continue with the Speedy Terragen Tour.
Back to:
Part Three: Quick Intro to Surface Maps