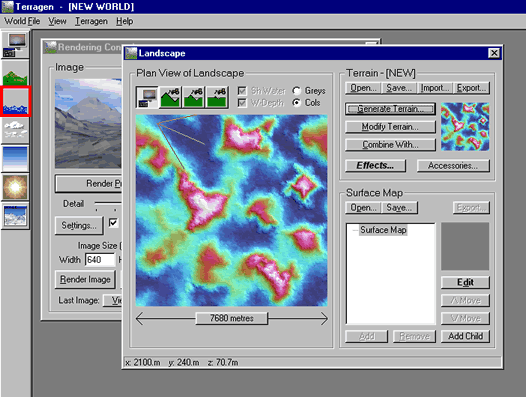
To bring the Water Window to the front; click on the Water Icon.

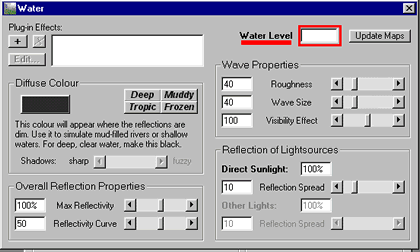
The Water Window will appear:
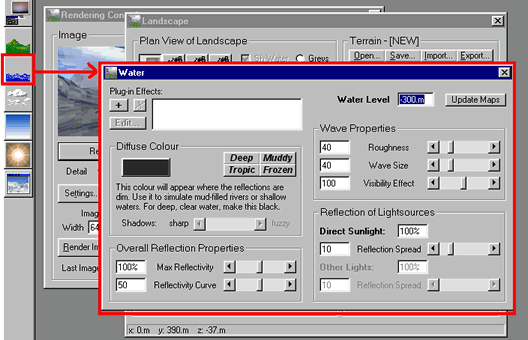
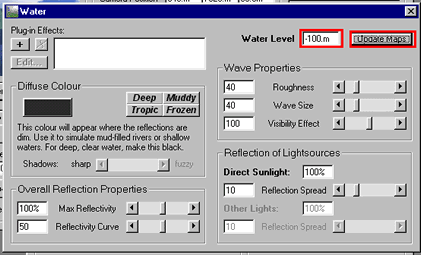
The first control we need to change is the 'Water Level.' Terragen Water Level default is -300m. When the Water Window is first opened the curser blinks in the little Water Level box:
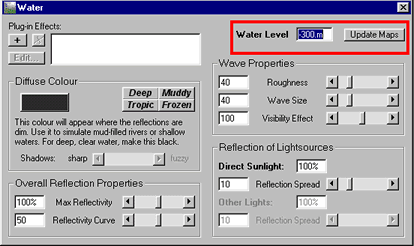
Type a 1 for a Water Level of 1 meter. Note: If the window becomes white (not blue blinking) and you wish to change the number in the Water Level box just place your curser inside the box and click and drag the curser to the left. This will bring up the blue blinking boundary again and you will be able to change the number.
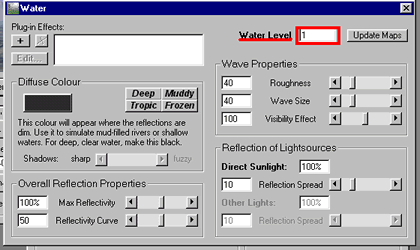
Now press the Update Maps button.

Press the Landscape Icon to bring the Landscape Window to the front and you will see a change. A grey color has 'flooded' over the lower blue areas of the landscape. This is where your water will be.
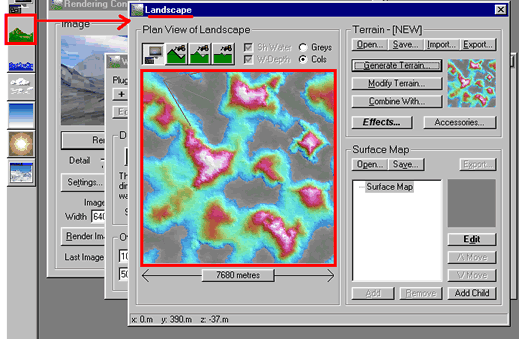
Click the Rendering Control Icon to bring the Rendering Control Window to the front. Click on the Render Preview at medium detail.
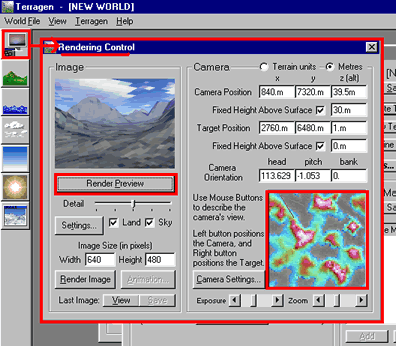
Here is the landscape with the Water Level raised to 1m. (Note where the camera angle is in the Landscape overview and how that image is reflected in the Render Preview window.)
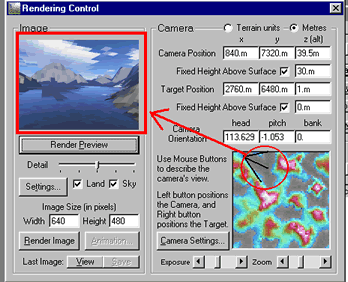
Render the Image at Maximum Detail.
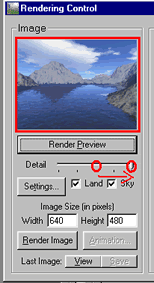
The image doesn't look like much at this stage because I have not applied a surface map. If you wish to do so, follow the directions in Lesson Three (Surface Maps) and apply a surface now (I've selected "Valley of Flowers.") Render Preview again and see how your new image looks.
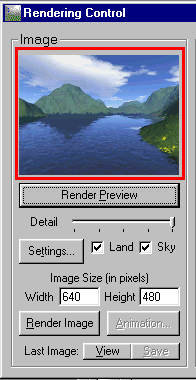
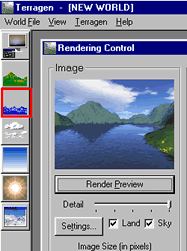
Click the Water Icon to bring up the Water Window again.
Here I have changed the Water Level to -100m.
This is the resulting image (at medium detail). Notice how the water area has become less. That is because I dropped the water level from 1 meter to -100 meters (negative numbers are less than 1). "-100m" means that the water level in our landscape is 100 meters below sea level. Positive numbers (like 1m) mean that the water level is above sea level.

Here is the image at maximum detail.
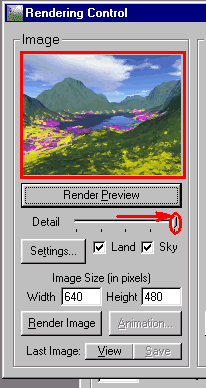
Play around with the water level. Try different negative numbers (from -300 to 0) and different positive numbers (from 0 to 10 to 100, etc.). The level of the water is what will create a stream, river, lake, or ocean in your Terragen Image.
Click here for Part Two of the Water Tutorial
Back to:
Part Two: Rendering Preview Image
Part Three: Quick Intro to Surface Maps