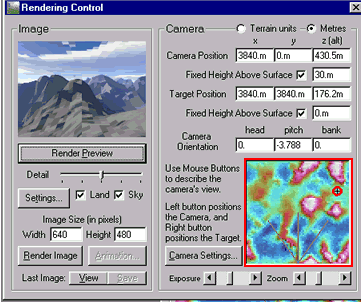
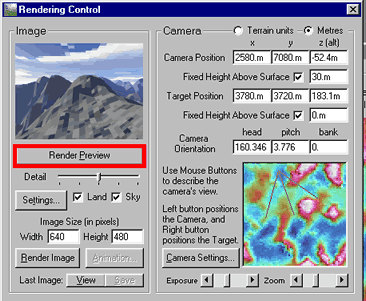
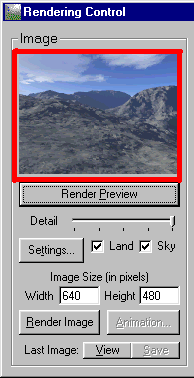
7a) If you have a scene with a big shadow in front, or if you are not pleased with your scene image; move your curser over the small copy of the Landscape Overview in the Rendering Control Window.
You will see little crosshairs that move over the mountains and valleys of your overview. (Remember that the white areas are the highest peaks and the blue areas are the lowest valleys.)
7b) When the crosshairs move over a large valley (a blue area) left-click your mouse.
You will see that the vee-shaped lines have now jumped over to the same large valley. (The vee is your camera angle.)
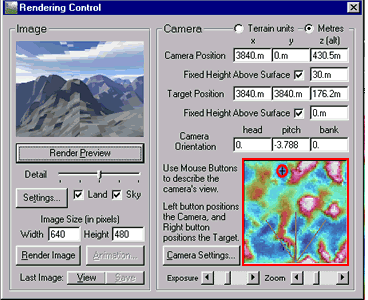
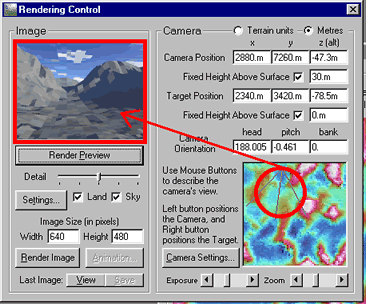
7c) Go back to the Render Preview and slide the Detail slider to the middle.
7d) Click the Render Preview button.
7e) Notice how the new camera angle has changed in the rendered image.
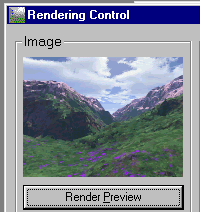
--If your image looks like this, you can go ahead and Render it at maximum Detail.
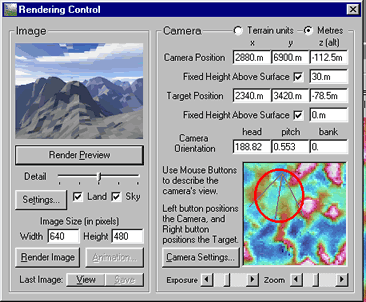
Even though your image is pixelated (that is, medium detail) you might be able to see if a hill or mountain has again gotten in the way of your 'camera.' If your new image looks like this:
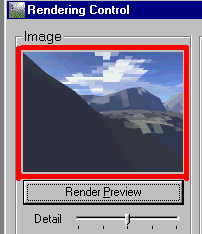
Follow steps 7a-7d again.
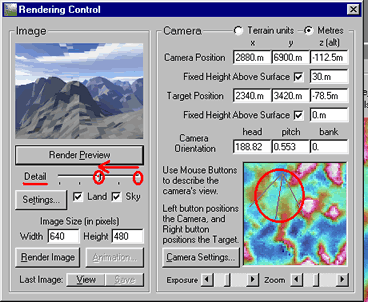
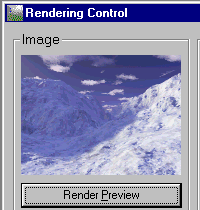
This is another camera angle that is rendered at medium Detail:
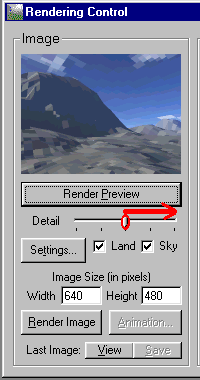
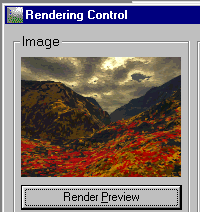
This is an image at maximum Detail:
Congratulations! You now can Generate a Terragen Terrain, Render a Preview at medium and maximum settings, and move the camera angle to a better imaging position within your terrain.
The next parts of the Terragen Tour will show you how to add surface detail, make lakes and oceans, and create more colorful clouds and different skies for your Terragen world.
These rendered images are the same Landscape Terrain with different Surface Layers and atmospheres.
Click onto Part Three: Surface Layers to learn about Landscaping your Terrain.
Back to:
Part Three: Quick Intro to Surface Maps